
I drove to South Plaza Road, Virginia Beach, at 7:30 in the morning to see the last bit of the porch before I had to head back home. Like before we had our morning meeting and determined that we had to set up our work benches, uncover piles of lumber, and get the equipment from Gabe's truck.
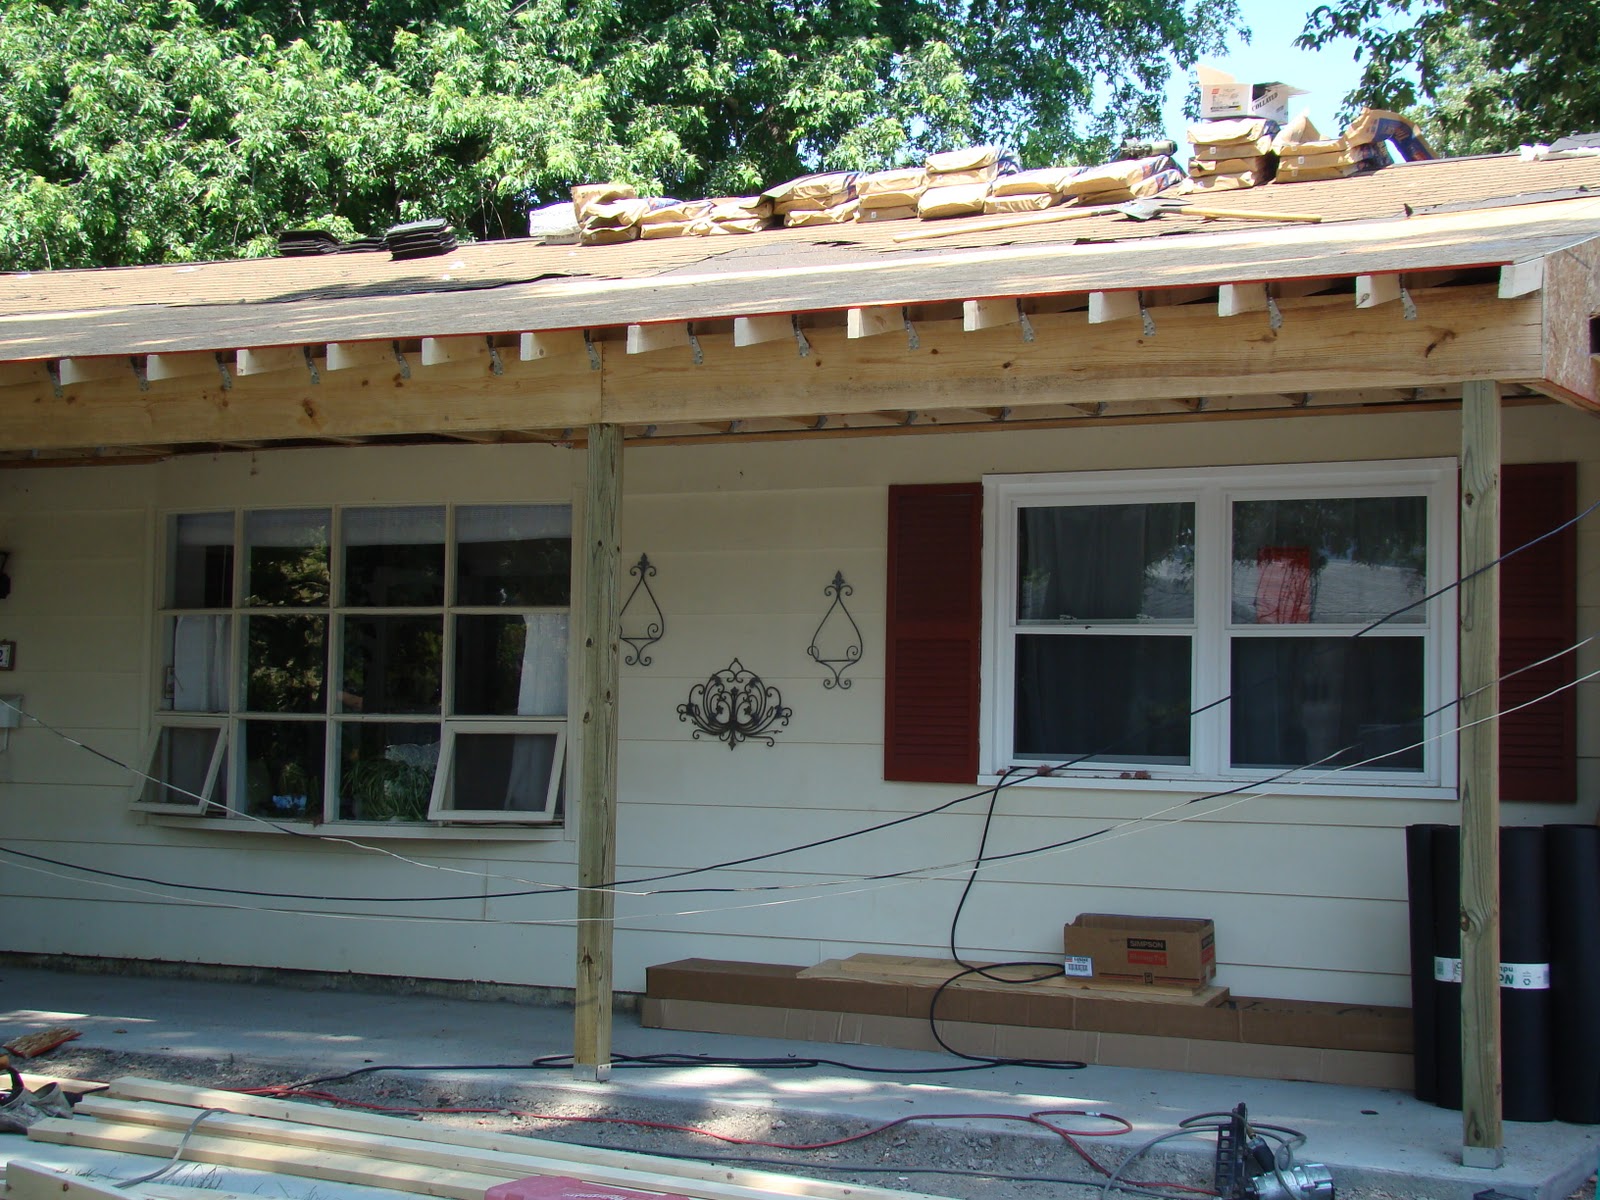
We started where we left off the day before. See previous blog, "Framing the porch roof", for more information. We cut rafters to fit the existing roof and the 6X4 head board. After we were done with the rafters it was time to add the plywood to complete the roof top. We started on the right side of the building and worked our way to the left. We did this so that we could cut a minimum amount of plywood to make up for the L shaped corner. Figure 1 and 2 show what the proch looked like after the plywood was installed.
Figure 1 Figure 2

The next thing to do was add aluminum brackets to the rafters and 6X4 joist (See Figure 3 and 4). Figure 5 shows what the roof looks life from the beneath.
Figure 3 Figure 4


Figure 5
After the brackets were screwed in we added a sill plate to the ceiling joist. The sill plate consisted of a 1 inch in depth by 4 inches in with (1X4) piece of lumber. Once the roof was insulated the ceiling would be installed and the sill plate provide something to nail the ceiling too.
Figure 6 Figure 7


Figure 8 Figure 9


In Figure 6 you can see the first 1X4 sill plate was attached. Figure 8 and 10 shows how the corners and pieces in between were done. Figure 7 and 9 shows a more zoomed out view of what everything looked like.
I hope you enjoyed the blog and that you had a wonderful thanksgiving.
All the best,
Mic
Here is Mr Benjamin contact Email details,lfdsloans@outlook.com. / lfdsloans@lemeridianfds.com Or Whatsapp +1 989-394-3740 that helped me with loan of 90,000.00 Euros to startup my business and I'm very grateful,It was really hard on me here trying to make a way as a single mother things hasn't be easy with me but with the help of Le_Meridian put smile on my face as i watch my business growing stronger and expanding as well.I know you may surprise why me putting things like this here but i really have to express my gratitude so anyone seeking for financial help or going through hardship with there business or want to startup business project can see to this and have hope of getting out of the hardship..Thank You.
ReplyDelete